

Ordering custom flags is different from picking a stock product off a shelf. Whether you need a run of promotional flags for a trade show or a large set of printed flags for a national day event, the finished item is built to your artwork. Once bulk production starts, changing direction becomes expensive. That is exactly why the pre-production sample approval stage exists — it is the checkpoint where design, colour, fabric, finishing, and hardware are all confirmed before the production line is committed.
What Is a Pre-Production Sample?
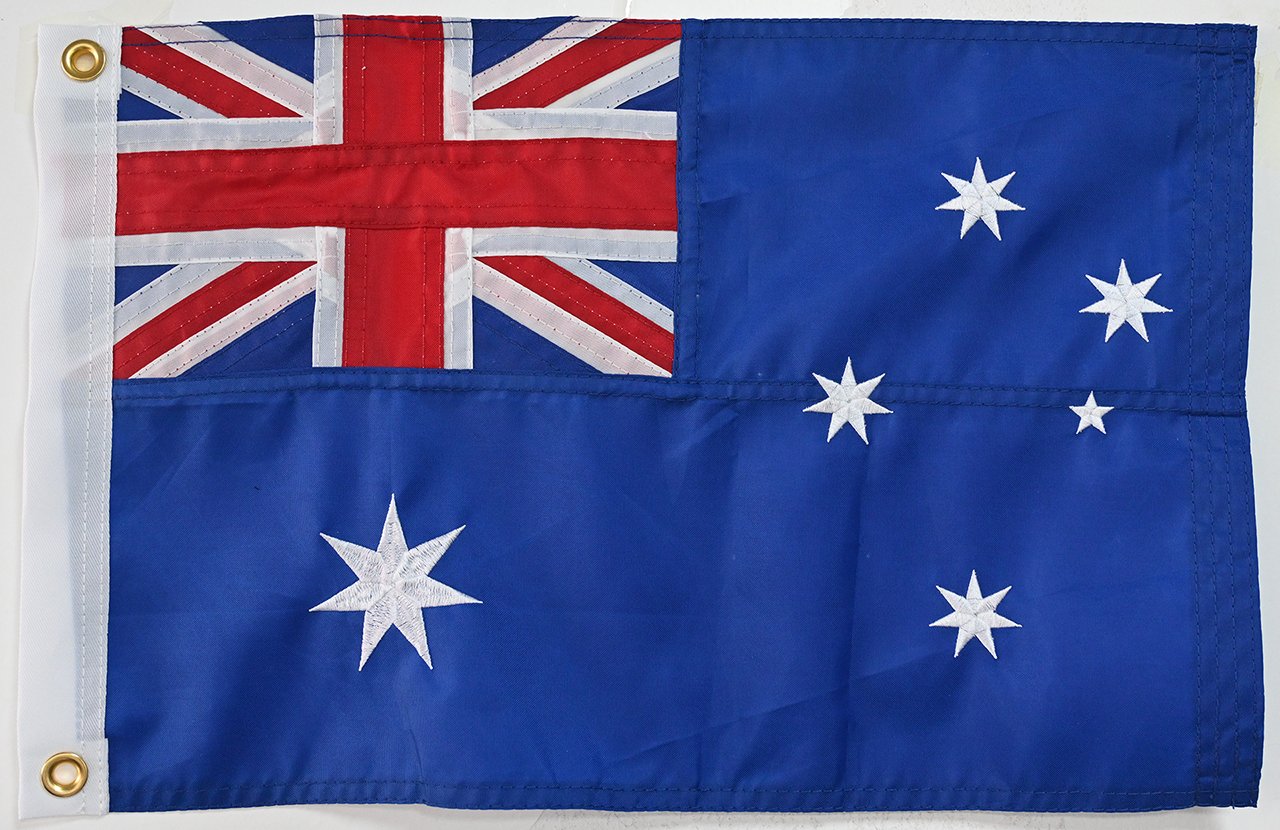
A pre-production sample (often shortened to PPS, and sometimes called a pre-production proof or approval sample) is a physical flag produced to your specification before the full order runs. It is not a rough sketch, and it is not a generic fabric swatch — it is a sample made using the same materials and construction method your order will use, so you can inspect the result in your hands.
For most custom flag projects, approval happens in two layers:
- A digital proof — a file showing artwork placement, colour references, dimensions, and any text or logos.
- A physical pre-production sample — an actual printed and finished flag for hands-on review, typically recommended for larger orders, complex designs, unusual shapes, or new fabric selections.
Both layers matter. The digital proof confirms what the design is; the physical sample confirms how it turns out in fabric.
Step 1: Artwork and Digital Proof Review
The process begins with your artwork. Send files in a vector format where possible (AI, EPS, PDF, or SVG), since vector artwork scales cleanly to any flag size. Raster files such as JPG or PNG can often be used, but resolution and edge sharpness need checking first.
Your supplier then prepares a digital proof showing:
- Overall dimensions and orientation (landscape, portrait, or custom shape)
- Artwork position relative to edges, hoist, and heading
- Colour references — brand codes or standard colour references where relevant
- Text spelling, fonts, and any fine detail such as thin strokes or small marks
Read this proof carefully and slowly. Check names, numbers, sponsors, and translations character by character. This is the cheapest moment in the entire project to catch an error.
Step 2: Physical Pre-Production Sample
Once the digital proof is agreed, a physical sample is produced. This is where you evaluate the things a screen cannot show you: how the fabric drapes, how colours read on the actual base material, how the print looks at the intended viewing distance, and how the finishing has been executed.
What to Inspect on the Sample
- Colour against your reference — view it in daylight and in indoor light, since the two can look noticeably different
- Print sharpness — edges of letters, logo outlines, and gradients
- Fabric hand-feel and weight — appropriate for indoor display, outdoor use, or frequent flying
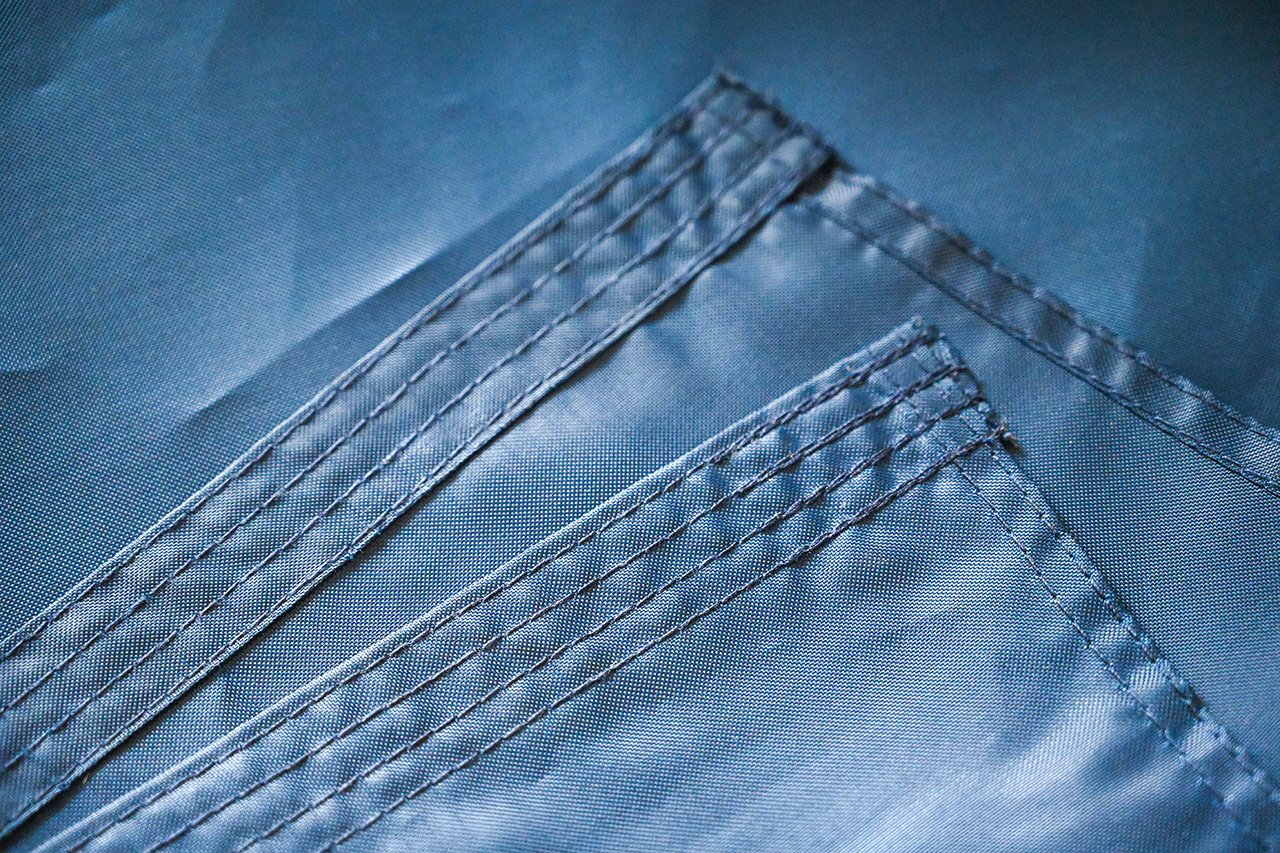
- Finishing details — heading type (sleeve, grommets, rope and toggle, pole pocket), stitching lines, and hem width
- Dimensions — measure the sample rather than estimating by eye
- Both sides — for double-sided flags, confirm that reverse-side artwork reads correctly and is not showing through
Step 3: Revisions and Feedback
Feedback is most useful when it is specific. “The blue looks off” is hard to act on; “the blue reads darker than our brand reference on screen” gives the production team something to correct. Where possible, mark up the digital proof with notes and arrows, and reference the physical sample by area rather than describing it in general terms.
It also helps to understand the difference between two kinds of change:
| Type of change | What it involves | Typical impact |
|---|---|---|
| Artwork revision | Adjusting colour values, position, size, or text in the design file | Usually handled through a revised digital proof |
| Specification change | Switching fabric, dimensions, heading type, or construction | May require a new physical sample |
Consolidating your comments into a single round of feedback keeps the project moving, rather than sending notes piece by piece over several days.
Step 4: Written Sign-Off
Approval should always be confirmed in writing — usually by replying to the proof email with an explicit statement that the sample is approved for production. At that point, the approved specification is effectively frozen: artwork file, colour references, dimensions, fabric, and finishing.
A written record protects everyone. If a question comes up later about whether grommets or a sleeve were specified, the approved proof is the answer.
Common Reasons Sample Approvals Get Delayed
- Artwork supplied at low resolution, requiring redrawing
- Brand colours given only as screen values with no physical reference
- Multiple stakeholders reviewing separately and sending conflicting notes
- Finishing details left undecided until the sample stage
- Feedback sent verbally or in a chat thread instead of on the proof itself
Most of these are avoidable with one simple habit: gather the people who need to approve the design, review the proof together, and return one consolidated set of comments.
From Approved Sample to Bulk Production
Once sign-off is confirmed, the approved sample becomes the reference standard for the whole run. Production is checked against it, so any later query — about colour, hem width, or print position — can be resolved by comparing the finished flag to the sample you approved.
For buyers placing repeat orders, keeping that approved sample on file is worthwhile. A future reorder can then be matched to a known reference rather than starting the discussion from scratch.
If you are planning a custom flag order — from a single display flag to a full event set — flags-factory.com can walk you through artwork, proofs, and sample approval step by step, and produce your order to the specification you sign off. Browse our custom flag range and send us your artwork to get the process started.
Email: flagswin@flag-win.vip
WhatsApp: +86 13031678795
Facebook: https://www.facebook.com/StarFlagFactory/
Alibaba.com: https://wfqyflag.en.alibaba.com/
