

Flag Quality Inspection Checklist: How to Check Incoming Shipments
A flag shipment can look fine in the warehouse and still cause problems three weeks later — a crooked star field, grommets that pull out of the heading, or a shade that doesn’t match the previous batch. Incoming inspection is the cheapest place to catch those issues, because the goods are still in your control and the conversation with the supplier is still fresh.
This checklist is written for anyone receiving bulk flag orders: importers, distributors, print shops, hospitality buyers, and promotional product resellers. Work through it in order, and record what you find.
Step 1: Verify the Paperwork Before You Open a Carton
Discrepancies caught on paper are far easier to resolve than discrepancies caught after unpacking.
- Match the packing list against your purchase order: item codes, sizes, quantities, and finishes (header tape, grommets, pole sleeve, rope and toggle).
- Confirm the carton count on the bill of lading matches what is physically on the pallet.
- Check the artwork reference number or approved proof ID against the order confirmation.
- Note the production or batch reference so defects can be traced to a specific run.
- Photograph the pallet and carton labels before opening anything.

Step 2: Pick a Sampling Plan and Stick to It
Inspecting every flag in a large lot is usually impractical, and inspecting only the top layer is worse than useless. Agree a sampling approach in advance and write it into your supplier agreement.
- Divide the shipment into lots by item number, not by carton.
- Pull samples from multiple cartons — top, middle, and bottom of the pallet.
- A common rule of thumb is to inspect the square root of the lot quantity plus one; adjust upward for new suppliers or repeat-problem items.
- Sample the first production batch more heavily than reorders of a proven item.
Step 3: Check the Packing and Transit Condition
- Look for crushed cartons, water staining, or tape failure that suggests transit damage.
- Confirm inner poly bags are intact and the flags are clean, dry, and free of dust or oil marks.
- Check fold lines. Sharp, hard creases that hold after unfolding are worth flagging.
- Verify that hardware, ropes, and accessories are packed in the correct bags and not loose in the carton.
Step 4: Inspect the Base Fabric
- Check for weaving faults, thin spots, slubs, or visible mending.
- Hold the fabric up to light — patchy opacity can indicate an inconsistent base cloth.
- Feel for a consistent hand across the lot; a noticeably lighter or stiffer piece suggests mixed fabric.
- Confirm the material matches the ordered specification (knitted polyester, spun polyester, nylon, or mesh).
- Look for edge fraying or an unfinished cut along the fly end.
Step 5: Compare Print and Colour Against the Approved Reference
This is where most disputes begin, so always inspect against a physical reference rather than memory.
- Lay the sample next to the approved strike-off, Pantone chip, or previous shipment.
- Inspect under neutral daylight or a colour-corrected light — not under yellow warehouse lighting.
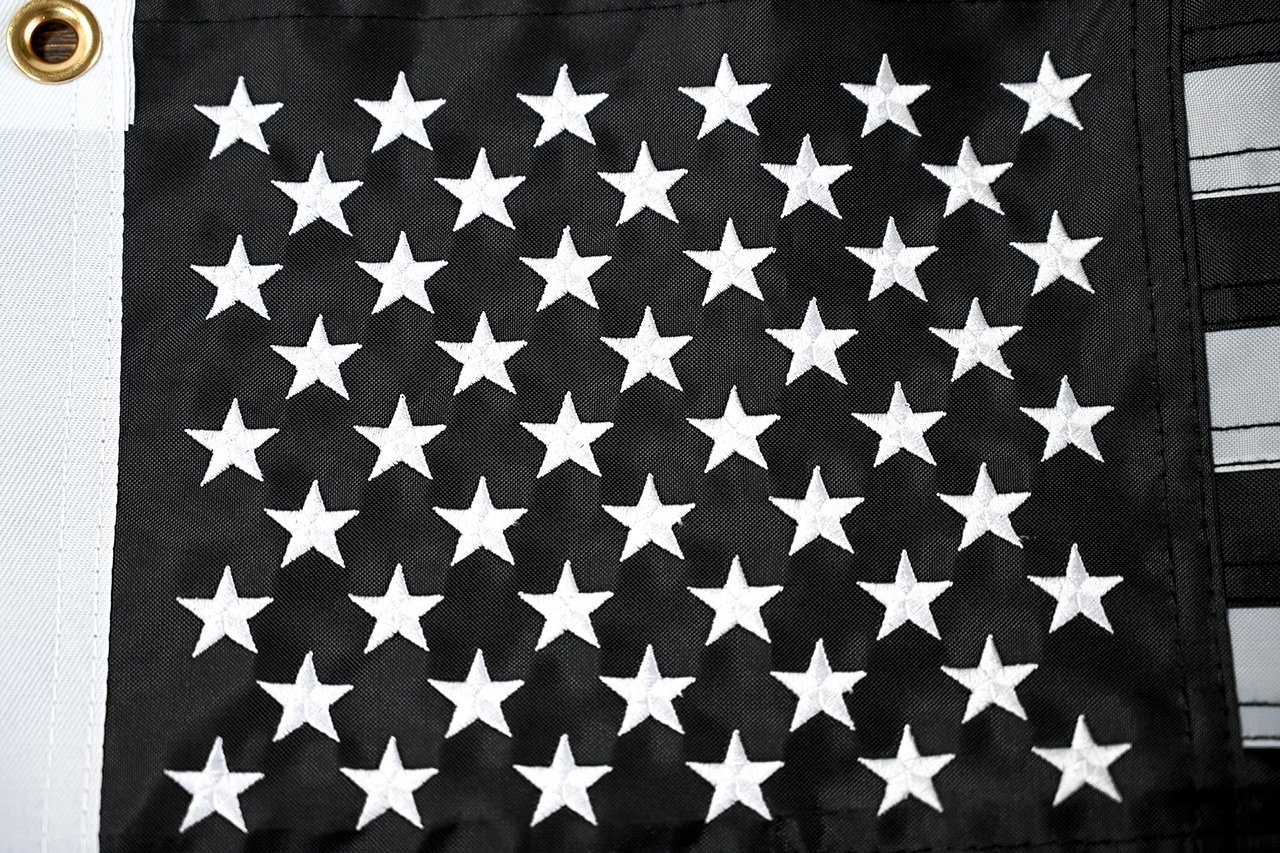
- Check print registration: are the edges of fields, stars, or text crisp, or is there a visible halo?
- Check for ink bleed through to the reverse side, especially on light-coloured designs.
- Confirm the design is not mirrored, rotated, or scaled incorrectly relative to the reference.
- Look for streaks, banding, smudges, or missing ink in large solid areas.
Step 6: Examine Stitching and Construction
- Run a finger along the fly hem and heading — stitches should be even, straight, and complete.
- Check stitch density by eye: gaps or long, loose stitches are a defect.
- Confirm the fly hem has the specified number of rows of stitching.
- Look for skipped stitches, loose thread tails, and thread colour that clashes with the fabric.
- Check corners and bar tacks, where stress concentrates.
- Confirm the heading tape is straight and evenly folded, with no twisting.
Step 7: Measure Dimensions, Squareness, and Hem Width
- Measure length and width of a flattened flag against the ordered size.
- Measure at multiple points to detect tapering or a bowed edge.
- Check squareness by folding corner to corner; the diagonals should match closely.
- Compare hem width and heading depth to the agreed specification and tolerance.
- Set written tolerances with your supplier rather than judging case by case.
Step 8: Test Hardware and Finishing
- Check grommet placement, spacing, and whether they sit firmly in the heading tape.
- Confirm grommet material and finish match the order (brass, nickel, stainless).
- Inspect grommets for burrs and sharp edges that could tear fabric or cut hands.
- For pole sleeves, check the opening diameter is consistent along the full length.
- For rope and toggle finishes, check knots, whipping, and that the rope is securely anchored.
Step 9: Verify Labels, Barcodes, and Retail Packaging
- Check that fibre content, care instructions, country of origin, and item codes are correct.
- Scan barcodes and confirm they match your system, not just the label text.
- Confirm hangtags, header cards, or poly bag sizes match the retail requirement.
- Check that retail-packed flags are folded consistently for shelf presentation.
Classify Defects Before You Decide What to Do
| Level | Examples | Typical action |
|---|---|---|
| Critical | Wrong design or size, unsafe grommets, water damage, wrong item shipped | Reject the lot; do not put into stock |
| Major | Colour well off reference, incomplete stitching, missing grommets, visible print faults | Hold, quantify the defect rate, negotiate repair or replacement |
| Minor | Loose thread tails, light fold creases, slightly uneven folds in retail packing | Accept with note; log for supplier feedback |
Step 10: Record, Report, and Close the Loop
- Log the sample size, defect counts, and defect type for every lot.
- Photograph each defect with a scale reference in the frame.
- Separate accepted, held, and rejected stock physically — never store held goods with sellable inventory.
- Send suppliers a short report with photos and the inspection record, not just a complaint.
- Re-check the same defect areas on the next shipment to confirm the correction held.
Quick Receiving Checklist
- Paperwork matched to PO — quantities, sizes, finishes, artwork ID
- Samples pulled from multiple cartons
- Cartons, poly bags, and fold condition checked
- Base fabric inspected for faults and consistency
- Print and colour compared to physical reference
- Stitching, hems, corners, and bar tacks reviewed
- Dimensions and squareness measured
- Grommets, sleeves, rope, and toggles checked
- Labels, barcodes, and retail packing verified
- Defects classified and results recorded
Running this sequence on every incoming shipment takes far less time than processing returns, reprints, or customer complaints later. It also gives you documented evidence when you need to raise an issue with a supplier.
If you would like to see how our flags are finished — fabric options, heading styles, grommet and sleeve configurations, and custom print formats — browse the range at flags-factory.com or send us your artwork for a quote.
Email: flagswin@flag-win.vip
WhatsApp: +86 13031678795
Facebook: https://www.facebook.com/StarFlagFactory/
Alibaba.com: https://wfqyflag.en.alibaba.com/
